Created CI/CD Pipeline of a web app using GitHub,Docker, Jenkins, AWS.
Deploying TO-DO App in Local Virtual Machine.
1. Setting Up a Virtual Environment 🛠️
What is a Virtual Environment?
Imagine you're setting up a small workspace where everything you need is neatly organized, separate from everything else on your computer. A virtual environment is like that workspace, but for your Python projects. It keeps all the necessary files and packages in one place, so they don’t mix with other projects.
Step 1: Install Virtual Environment
First, you need to install something called
virtualenv, which allows you to create this organized workspace. Open your terminal (a command prompt window) and type in:py -m pip install --user virtualenvThink of it like installing a special toolbox before you start your project.
Step 2: Create the Virtual Environment
Next, you’ll create your virtual environment (your organized workspace). You can name it whatever you like; here, I’ll call it
env:py -m venv env- Example: Imagine you’re setting up a new folder called "MyWorkspace" where you’ll do all your work. That’s what
envis.
- Example: Imagine you’re setting up a new folder called "MyWorkspace" where you’ll do all your work. That’s what
Step 3: Activate the Virtual Environment
Now, you need to "enter" your workspace. In your terminal, type:
env\Scripts\activate.bat
Once activated, you’ll see the name env appear in your terminal, which means you’re working in that organized space.
2. Setting Up the Server 🔧
Step 1: Get the TO-DO App Code
To start working on the TO-DO app, you need to get the code from a website called GitHub, where developers share their projects. In your terminal, type:
git clone https://github.com/harshitsahu2311/Django-todo-automate.git
- Example: Think of this as downloading a recipe from the internet that you’re going to follow.
Step 2: Move to the Project Directory
Now that you have the code, you need to go into the folder where the code is stored:
cd Django-todo
- Example: It’s like opening the recipe book to the right page.
Step 3: Install Django
Django is a tool that helps you build websites. If you don’t have it already, install it by typing:
pip install django
For more details, you can visit Django's official download page.
3. Setting Up the Database 📂
Step 1: Create Database Migrations
Websites often need a database to store information. To set up this database, type:
python manage.py makemigrations
- Example: Imagine you’re setting up shelves in your workspace to store important documents.
Step 2: Apply Database Migrations
Next, you need to put those shelves in place by typing:
python manage.py migrate
Now your database is ready to use.
4. Creating an Admin User 👤
To manage your TO-DO app, you need to create an admin account. This is like being the manager who has control over everything. To set this up, type:
python manage.py createsuperuser
- Example: You’ll be asked to choose a username and password, like setting up a user account on a new device.
5. Running the TO-DO App 🚀
Step 1: Start the Server
Now it’s time to see your app in action. Type the following command to start it up:
python manage.py runserver
- Example: It’s like turning on the lights in your workspace and getting ready to work.
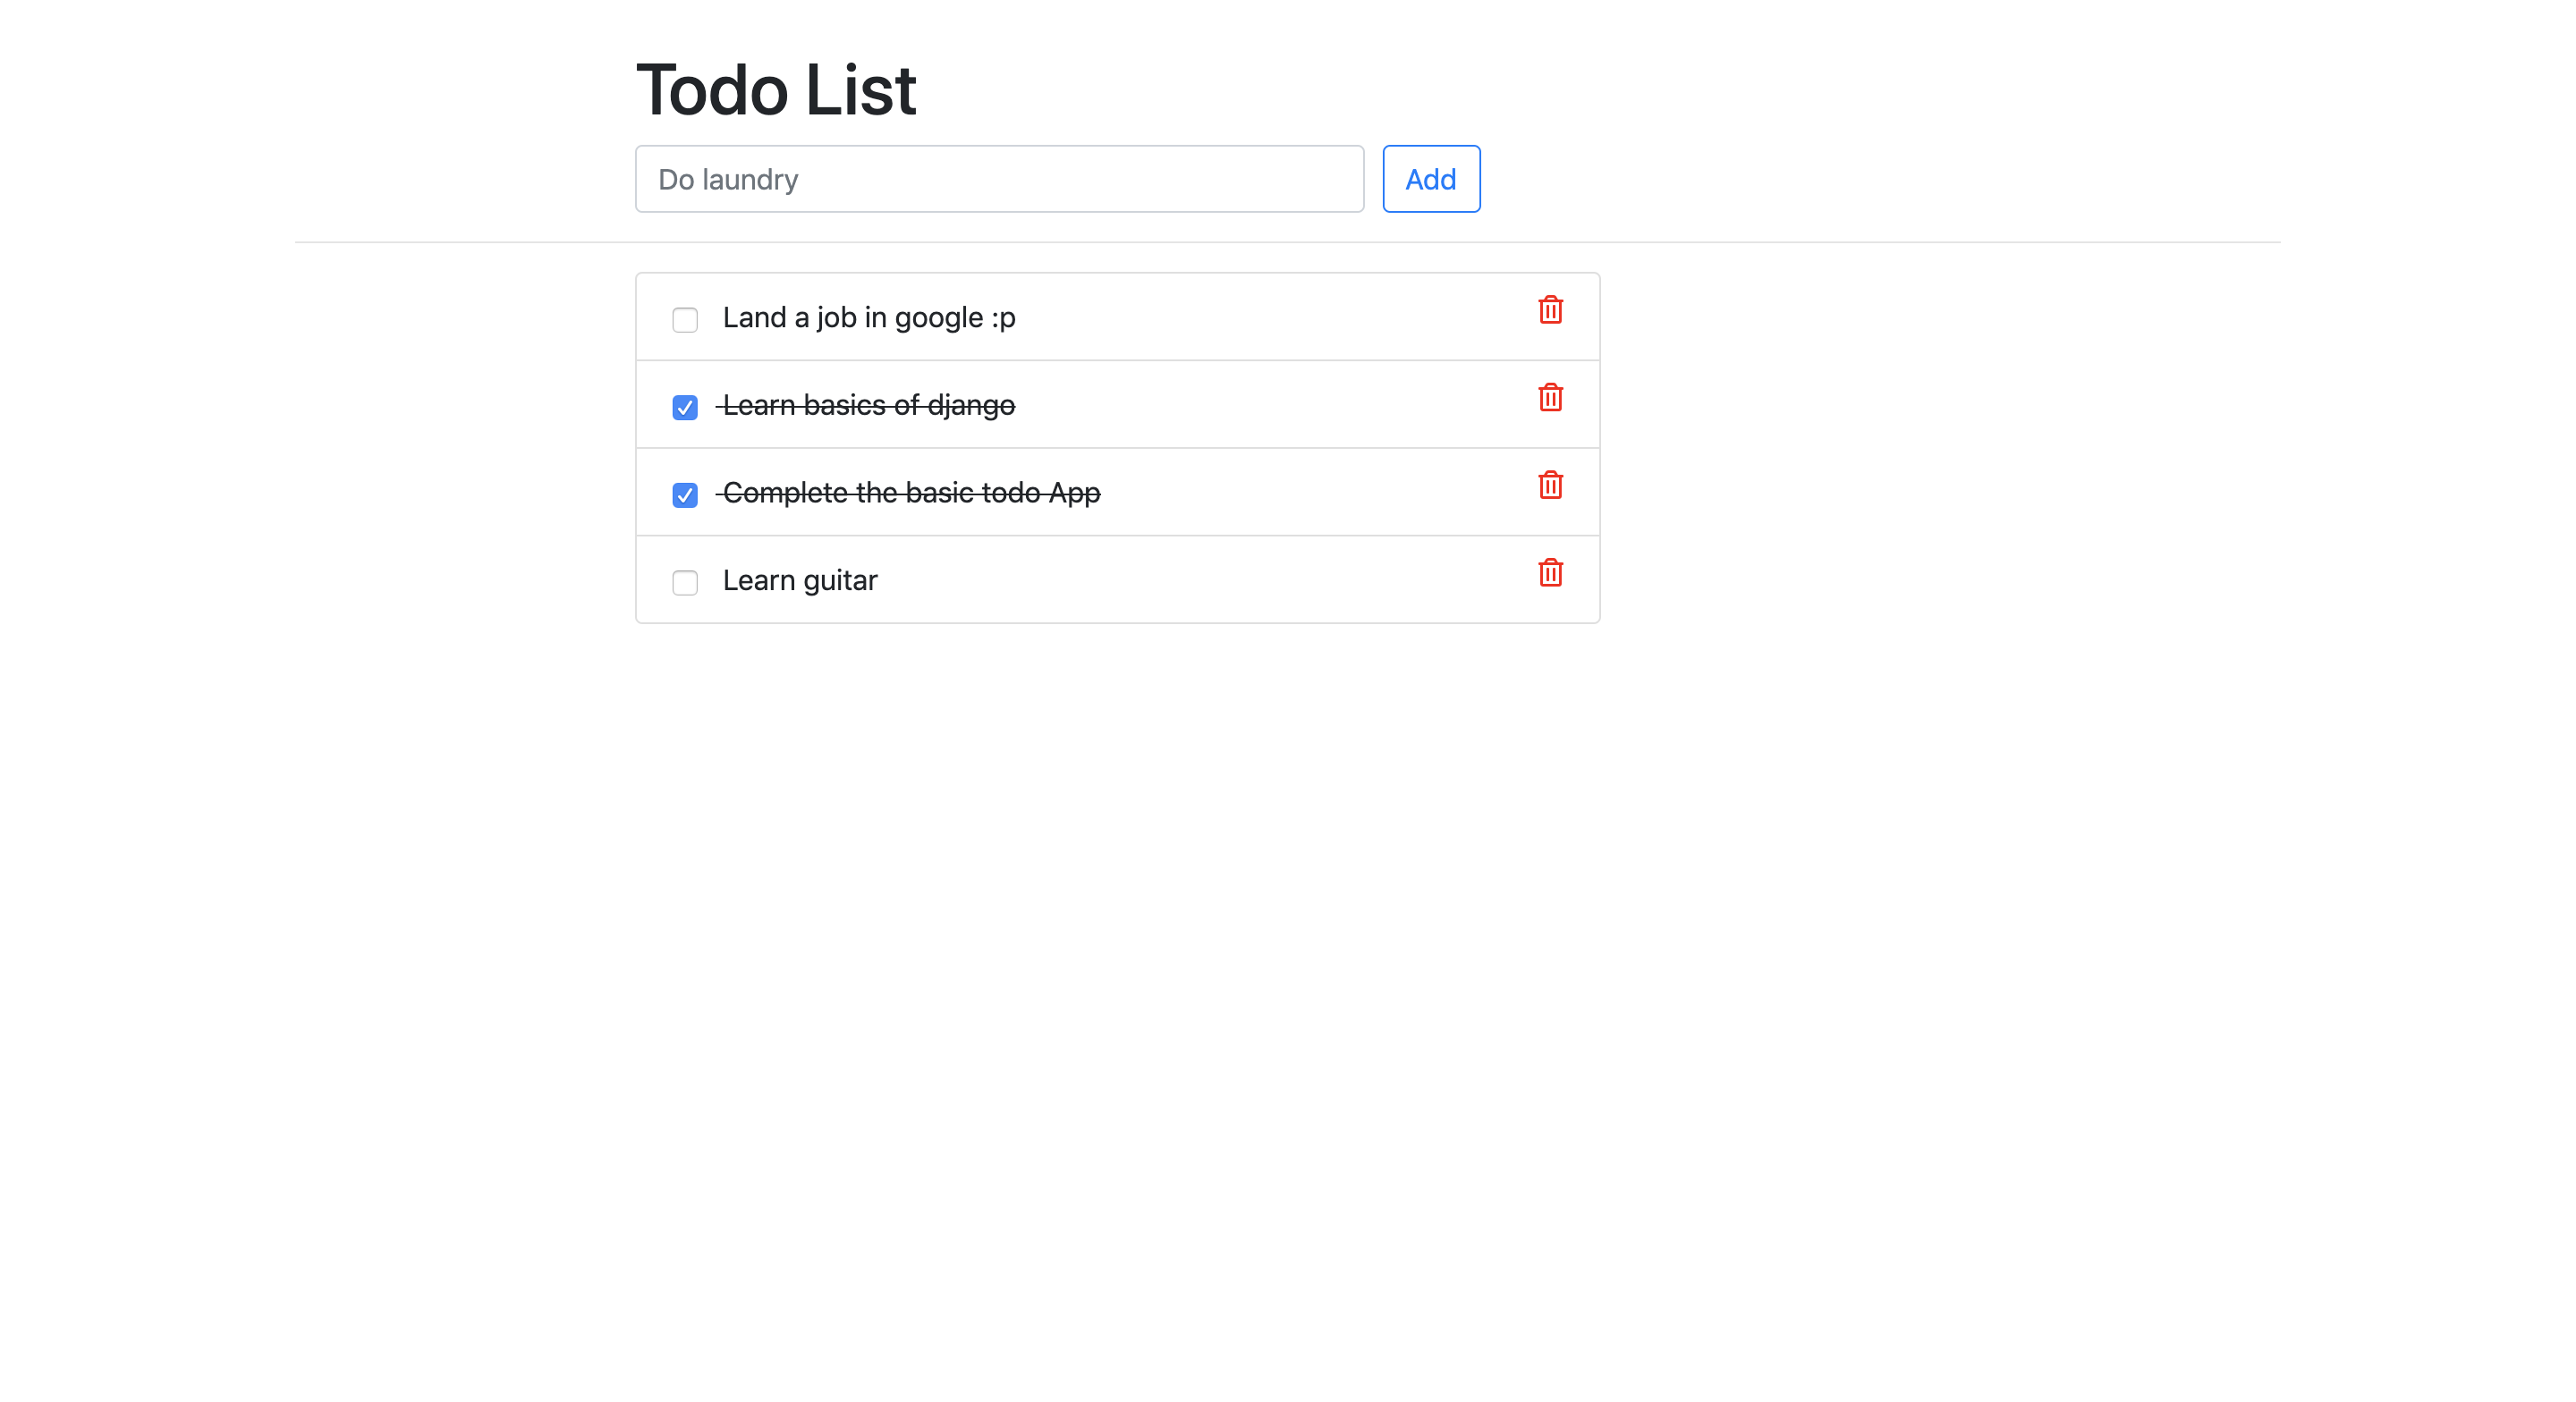
Open your web browser and go to http://127.0.0.1:8000/todos to see your TO-DO app.
Step 2: Running the Server on a Different IP
If you want others on your network to see the app, run the server on a different IP address by typing:
python manage.py runserver 0.0.0.0:8000
Example: Imagine you’re sharing your workspace with others by opening the doors.

6. Troubleshooting Common Issues 🛠️
Issue: App Not Accessible
Sometimes, you might run into problems where the app doesn’t show up. This could be due to restrictions in the app settings.
Step 1: Modify ALLOWED_HOSTS
To fix this, you need to allow everyone to access your app. Open the settings file and make a small change:
    cd todoApp
    vi settings.py
Find the line with ALLOWED_HOSTS and change it to:
ALLOWED_HOSTS = ['*']
Example: It’s like giving everyone permission to enter your workspace.

7. Running the Server in the Background 🕹️
If you want to keep the app running but still use your terminal for other things, type:
nohup python manage.py runserver 0.0.0.0:8000 &
What is nohup?
This command keeps your app running in the background, even if you close the terminal.
8. Managing Running Services 📋
Step 1: Listing Running Services
To see what’s running on port 8000, type:
lsof -i:8000
Step 2: Stopping the Server
If you want to stop the app, find its Process ID (PID) from the previous command and type:
bashCopy codekill -9 PID
- Example: It’s like turning off the lights in your workspace when you’re done for the day.
